

Blogging has become a popular way for individuals to express their thoughts and ideas to the world. However, the thought of setting up a blog can seem intimidating, especially if you’re not tech-savvy. Fortunately, GoDaddy provides an easy-to-use platform that can help you create a professional-looking blog in no time.
In this blog post, we’ll guide you through the nine steps of starting a blog with GoDaddy, from selecting a domain name to publishing your first post. By the end of this guide, you’ll be equipped with the knowledge and tools necessary to create a successful blog that captures your unique perspective. So, let’s dive in and get started on your blogging journey with GoDaddy!
Here are nine steps to help you start a blog with GoDaddy:
Step 1: Choose a Domain Name Think of a unique and memorable domain name for your blog. Go to the GoDaddy website and search for available domain names. Once you find one you like, proceed to purchase it.
Step 2: Sign up for GoDaddy Create an account on the GoDaddy website if you don’t already have one. Provide the necessary information and complete the registration process.
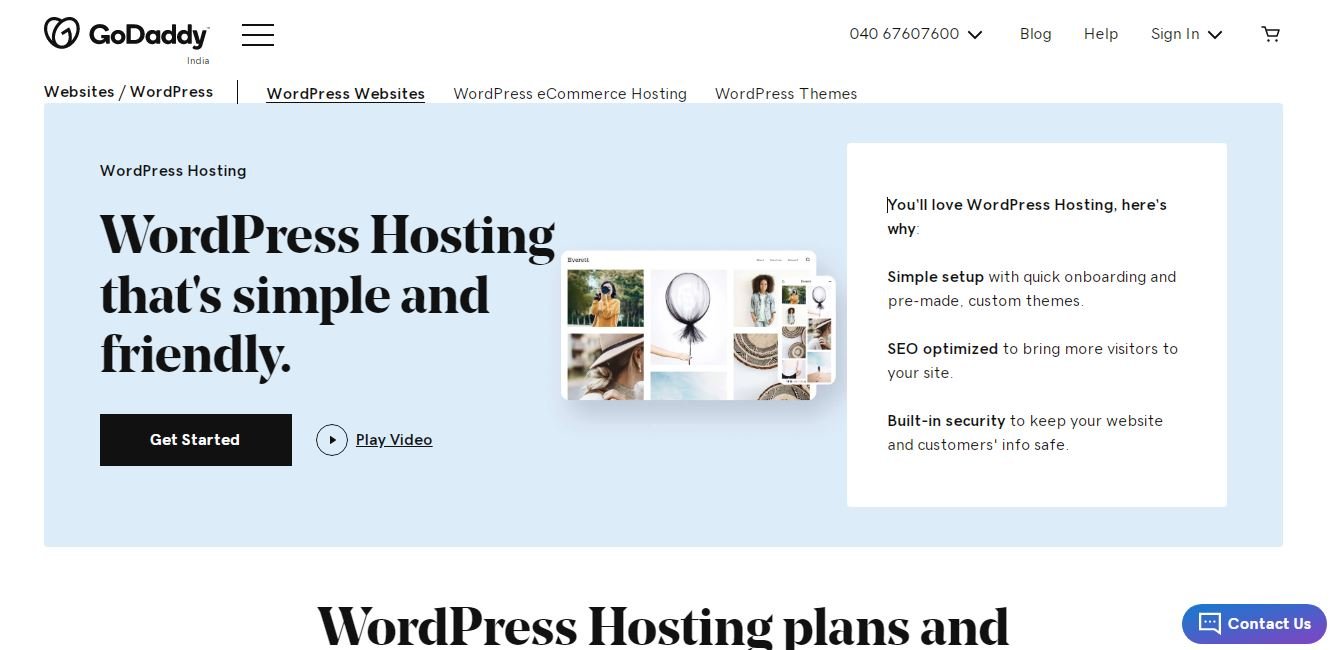
Step 3: Select a Hosting Plan GoDaddy offers different hosting plans. Choose a plan that suits your needs and budget. Shared hosting is usually a good starting point for new bloggers.
Step 4: Install WordPress Go to your GoDaddy account dashboard and look for the option to install WordPress. Follow the on-screen instructions to set it up. WordPress is a popular content management system (CMS) for blogging.
Step 5: Configure WordPress Once WordPress is installed, you’ll be prompted to configure your blog. Enter the necessary details like site title, tagline, and administrator username/password. This will be used to access your WordPress dashboard.
Step 6: Choose a Theme Select a theme for your blog. Go to the “Appearance” section in your WordPress dashboard and explore the available themes. You can choose a free theme or purchase a premium one for more customization options.
Step 7: Customize Your Blog Personalize your blog’s appearance by customizing the theme settings. You can upload a logo, change colors, fonts, and layout to match your style and brand.
Step 8: Create Essential Pages Create important pages for your blog, such as “About Me,” “Contact,” and “Privacy Policy.” These pages help your readers understand your blog and provide a means for them to reach out to you.
Step 9: Start Writing and Publishing With your blog set up, you’re ready to start writing and publishing your content. Create engaging and valuable blog posts, proofread them, and hit the publish button. Promote your blog through social media and engage with your readers.
How to Buy Hosting on GoDaddy See with Live Pictures
1. First, go to GoDaddy.com.
2. Choose a hosting plan.

3. Create account with details and make payment.
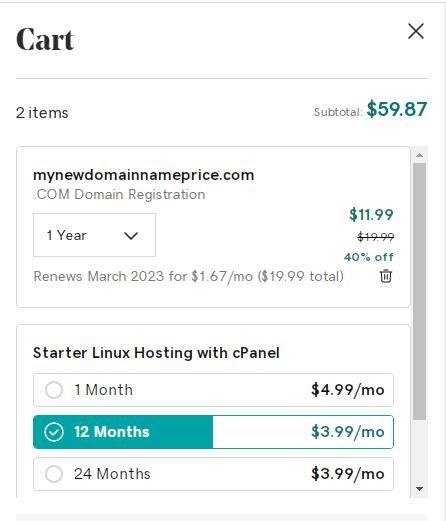
4. Connect your domain with hosting.
5. Login to the cPanel.
6. Install WordPress.
7. Login to the WordPress dashboard.
8. Install essential plugins.
9. Start writing contents and publish!
Conclusion
Remember, starting a blog is just the beginning. Consistency, quality content, and building an audience are key to a successful blogging journey. Good luck!
Related: