


If you’re looking for a reliable and high-performance hosting platform to start your blog, Kinsta is an excellent choice. Kinsta offers a user-friendly and easy-to-use platform that can help you create a professional-looking blog without any technical expertise.
In this blog post, we’ll guide you through the nine steps of starting a blog with Kinsta, from selecting a domain name to publishing your first post. By the end of this guide, you’ll be equipped with the knowledge and tools necessary to create a successful blog that showcases your unique perspective. So, let’s get started on your blogging journey with Kinsta!
Kinsta is one of the best managed WordPress hosting provider like WP Engine.
9 Steps Start A Blog With Kinsta
These are the 9 steps are in below which are need to execute for creating a new site on Kinsta hosting.
- First, go to Kinsta.com.
- Choose a hosting plan.
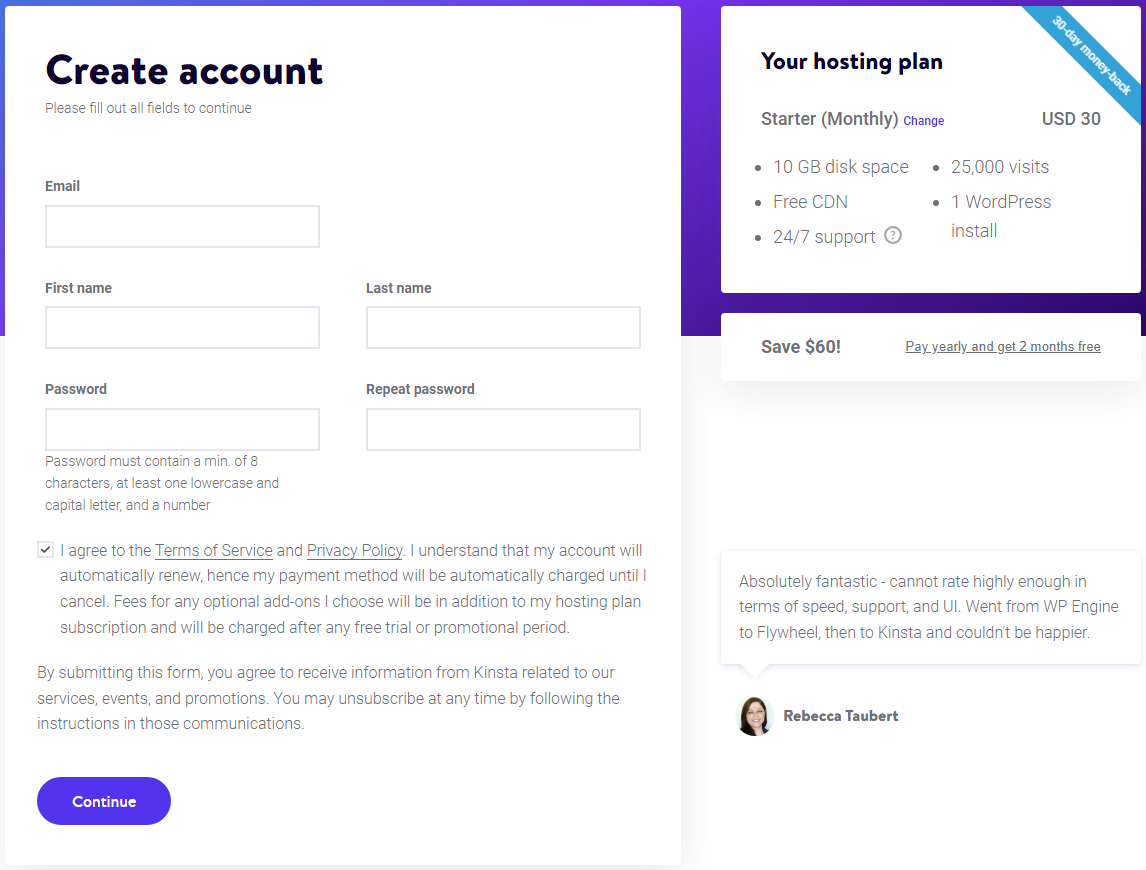
- Create account with details and make payment.
- Connect your domain with hosting.
- Login to the cPanel.
- Install WordPress.
- Login to the WordPress dashboard.
- Install essential plugins.
- Start writing contents and publish!
#1 Pick a niche
First pick a niche on what you are going to start your new blog or website with WP Engine. Niche is actually the topic of your site. It is one of the crucial part of starting a blog. There are a lot of effective ways to select a better niche for you.
#2 Buy a domain
For staring a new blog, you first need a domain which can be considered as the name or address of your site. Buying a domain name is very easy and simple. My recommendation is, purchase a domain name a the cheapest price from Namecheap. It is one of the top domain name provider like GoDaddy.
#3 Buy hosting on Kinsta
Kinsta is one of the top managed WordPress hosting provider for small to large websites. It provides 100% Managed WordPress hosting solution. They use the world class servers like Google Cloud and Amazon Web Services (AWS). It offers free SSL certificate, free CDN, free migration and daily backups with hosting.
1. First, go to Kinsta.com.

2. Choose a hosting plan.

3. Create account with details and make payment.
4. Connect your domain with hosting.
5. Login to the cPanel.
6. Install WordPress.
7. Login to the WordPress dashboard.
8. Install essential plugins.
9. Start writing contents and publish!
In conclusion, starting a blog with Kinsta is a straightforward and user-friendly process that can help you establish a strong online presence. By following the nine steps outlined in this blog post, you can choose a domain name, set up your hosting account, install WordPress, and customize your blog’s design. With dedication and hard work, you can create a successful blog that reflects your unique voice and engages your audience. So, don’t wait any longer, start your blogging journey with Kinsta today and share your ideas with the world!
Next step…
If you have reached here that means, you have created a new website successfully on Kinsta. Now just two more steps to go for making money online. First increase traffic in your blog and join different ads and affiliate platforms to monetize. Best wishes for your success!
Related: