


Blogging is a powerful way to share your thoughts and ideas with the world, and Namecheap offers a straightforward platform to help you create a blog without any technical expertise. Whether you’re a first-time blogger or an experienced writer, setting up a blog with Namecheap is an easy and accessible process.
In this blog post, we’ll take you through nine simple steps to start a blog with Namecheap, from selecting a domain name to publishing your first post. With our guide, you’ll be equipped with the knowledge and tools necessary to create a successful blog that captures your unique voice and engages your audience. So, let’s dive in and get started on your blogging journey with Namecheap!
9 Steps Start A Blog With Namecheap
These are the 9 steps are in below which are need to execute.
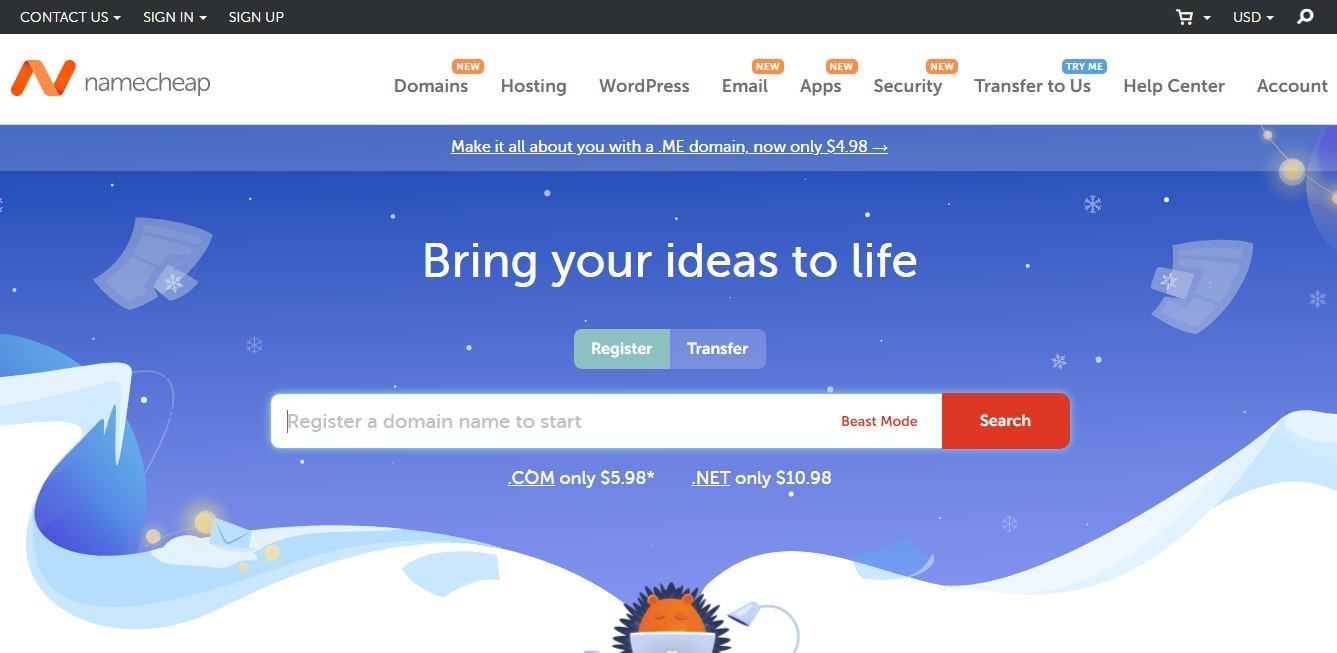
1. First, go to Namecheap.com.
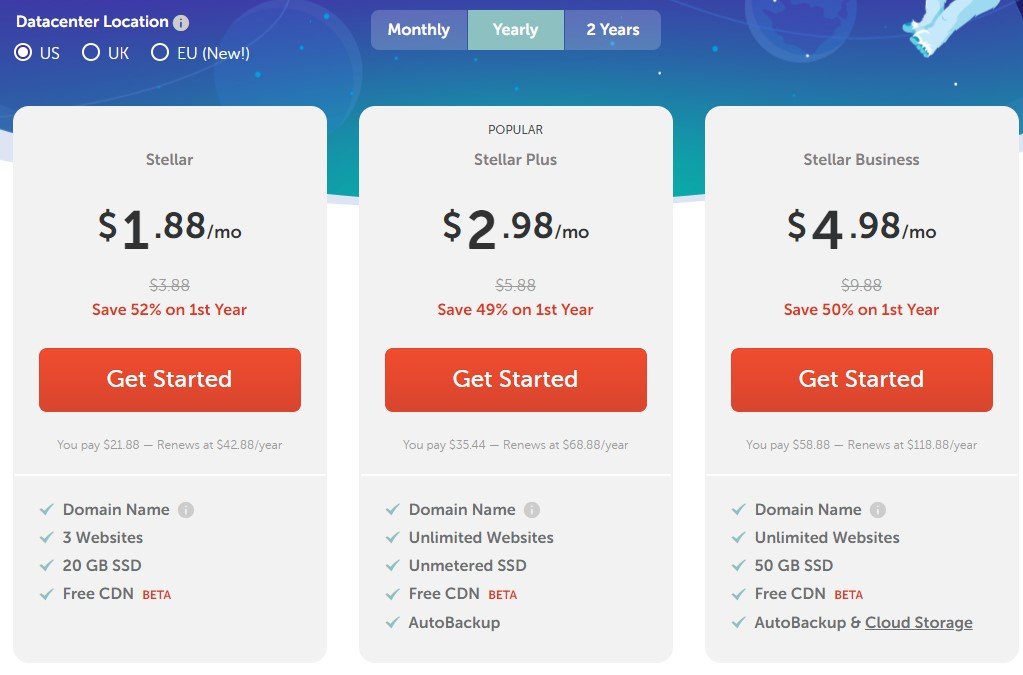
2. Choose a hosting plan.
3. Create account with details and make payment.
4. Connect your domain with hosting.
5. Login to the cPanel.
6. Install WordPress.
7. Login to the WordPress dashboard.
8. Install essential plugins.
9. Start writing contents and publish!
Conclusion
Starting a blog with Namecheap is a user-friendly and straightforward process that can help you establish a strong online presence. By following the nine steps outlined in this blog post, you can choose a domain name, set up your hosting account, install WordPress, and customize your blog’s design. With dedication and hard work, you can create a successful blog that showcases your unique voice and connects you with your audience. So, don’t wait any longer, start your blogging journey with Namecheap today and share your ideas with the world!
Related: